Building a Home Server: Home Assistant, Z-Wave, and Complete Control
A few months ago my Abode subscription renewal came up. I looked at the annual charge and asked a simple question: what am I actually paying for here?
The answer was a SaaS solution I couldn’t expand. All the sensors were Z-Wave (an open standard), but the hub itself was a black box. Abode supported Z-Wave devices, sure. But the way they interacted was locked down. Want to add a geiger counter and log the values? You can add Z-Wave devices, but only the ones Abode decided to support, and only in the ways Abode’s software allowed. The automation logic was entirely theirs, and I had no control over it. I was paying for someone else’s vision of what a home should be, and I couldn’t modify it.
I’d already been running Home Assistant on another box for a while and realized I could just replace the whole thing. Moving to a new house seemed like the right moment to start fresh. Build a home server that does everything Abode did, plus everything else I could think of. DNS filtering. Offline Wikipedia. Geiger counter. Fire alarm monitoring. Garage control. Media streaming. All running locally on a single Raspberry Pi 5 in the closet. One deployment script, one box, full control.
That’s what this post is about. Building a system where I own the hardware, control the software, and don’t pay anyone a monthly fee. If I want to add something, I add it. If I want to change something, I change it. Those decisions are mine.
The Hardware
I wanted this built to last from day one, so I went with the Pi 5 and proper storage instead of trying to cheap out.
| Part | Link |
|---|---|
| Raspberry Pi 5 (16 GB) | https://amzn.to/4gztL8L |
| Argon ONE V3 M.2 NVME PCIe Case | https://amzn.to/4b3zW1b |
| AEOTEC Z-Stick Gen5 Z-Wave Hub | https://amzn.to/4en0I6W |
| Zooz ZEN16 MultiRelay (garage doors) | https://amzn.to/43RQgON |
| Zooz ZEN55 DC Signal Sensor (fire alarm) | https://amzn.to/4oEPyOi |
| GQ GMC-320 Geiger Counter | https://amzn.to/4vp1fv7 |
| Amazon Basics UPS 600VA/360W | https://amzn.to/4vzMBRR |
The Argon ONE case was the key buy here. Home Assistant writes state changes to disk constantly, and an SD card will burn out in a few months under that load. The case comes with an M.2 NVMe slot, so I threw in a 500GB SSD and the Pi 5 reads/writes directly to that instead. The case also handles active cooling with an onboard temperature sensor and fan, so the Pi doesn’t throttle in the summer. That mattered more than I expected.
Booting from the SSD
The Pi 5 will boot from USB by default if the SD card isn’t present, but to make the SSD the primary drive I followed this process:
- Install Home Assistant normally on the SD card as usual.
- Copy the entire SD card filesystem to the SSD using
rsyncfrom a connected USB reader or another machine. - Edit the boot EEPROM settings on the Pi to prioritize NVMe boot. On the running system, run
sudo rpi-eeprom-config --editand add or modify the boot order lines to try the NVMe first. - Once you’ve confirmed the Pi boots from the SSD, you can safely remove the SD card.
The exact steps depend on whether you want the SD card as a fallback (keep it in) or want to remove it entirely. The EEPROM editing is where the boot order gets set, so without that step the Pi will keep trying the SD card first even if it’s present.
This setup means the entire home server lives on fast NVMe storage instead of the slower SD card. State changes are instant, and you don’t have to worry about wearing out the card with constant writes.
The Power Draw Gotcha
Here’s something that bit me on first deployment. When Docker Compose starts all the containers at once, anything that depends on a USB device (Z-Wave stick, Geiger counter, etc.) will fail immediately. The system logs show this clearly:
error="error gathering device information while adding custom device \"/dev/serial/by-id/usb-0658_0200-if00\": no such file or directory"
The problem: the Raspberry Pi 5 doesn’t have enough power delivery to initialize all the USB devices simultaneously. They’re all trying to power on at the same time, and the power budget can’t handle it. The devices exist, but they’re not enumerated yet.
The fix is simple. Set the containers that depend on physical devices to restart on failure with a delay:
restart: on-failure:10
This tells Docker to retry up to 10 times before giving up. By the second or third retry (a few seconds later), the USB devices have finished powering up and enumerating themselves, and the containers start cleanly. The same applies to any container that depends on external hardware: Z-Wave JS UI, GMC-300 Geiger counter, anything that mounts an external SSD via USB-C.
It’s not elegant, but it works. The system boots, the containers fail once or twice while devices initialize, and then everything comes up and stays up.
Physical Setup: Wooden Box on the Wall
Everything lives in a Fullin Upgrade WiFi Router Storage Box mounted to the closet wall. It’s a wooden enclosure with ventilation holes that keeps the Pi, Z-Wave stick, UPS, and power cables out of sight. The router sits on top for easy access. It looks like furniture instead of a mess of hardware, which was the whole point.

Z-Wave: The Old Sensors Just Work
The best part of this transition? Every Z-Wave sensor from my old Abode setup paired with the AEOTEC stick without issue. Door sensors, window sensors, motion sensors. All of them. Z-Wave is an open standard, and Home Assistant’s Z-Wave JS UI speaks it natively.
The AEOTEC Z-Stick Gen5 is a simple USB dongle that runs as a container in Docker. It connects to a coordinator, generates network keys on first setup, and then every sensor on the Abode network just appears in HA as entities you can automate against. No vendor lock-in, no cloud login needed. Just local wireless devices on a local hub.
That alone would have been worth the switch, but I wanted to expand on what Abode gave me, not just replace it 1:1.
The New Z-Wave Gear
Garage Doors with ZEN16
The Zooz ZEN16 is a 3-relay module that fits in a small box and talks Z-Wave. It’s wired in parallel to my existing garage door button (the one on the wall). When HA tells it to activate relay 1, the ZEN16 closes a dry contact for 500 milliseconds, just like pressing the button. The motor opener doesn’t care what closed it.
It’s the 800 LR (Long Range) model, which means better range through walls and obstacles than the older 700 series. In a typical suburban house that mattered, especially in corners far from the hub.
Fire Alarm Monitoring with ZEN55
A dumb smoke detector just sits there beeping when there’s smoke. If you’re home, great. If you’re away, you find out when you get back. Abode had a noise sensor that would listen for the alarm’s beep and send an alert, which worked fine, but I wanted something more reliable that didn’t depend on audio detection.
The Zooz ZEN55 is a DC signal sensor. Wire it in parallel to the smoke detector’s 9V line, and it detects when the alarm triggers, sending a Z-Wave event to HA. Push notifications to my phone, sirens to other speakers, whatever. All of it runs entirely local. Now if there’s smoke while I’m away, I get notified immediately.
Everything Else: The Full Stack
The Raspberry Pi doesn’t just run Home Assistant. It runs the entire smart home stack in Docker Compose, which means a single deployment script brings up a dozen services. Here’s the core setup:
services:
  pihole:        # Network-wide ad blocking and DNS
  homeassistant: # Home automation hub
  zwave-js-ui:   # Z-Wave device management
  caddy:         # HTTPS reverse proxy
  gmc300:        # Geiger counter integration
  sentinel:      # Home sentry robot (see: Building Sentinel blog post)
  kiwix:         # Offline Wikipedia
  maps:          # Offline maps (OpenStreetMap)
  plex:          # Media server
  ddns:          # Dynamic DNS updater
Google Nest Cameras
Google Nest cameras integrate natively into Home Assistant. The Nest integration pulls live streams and motion events from your cameras without any hacks or RTSP tunneling. They show up as first-class HA entities, so I can trigger automations off motion detection, embed the streams in dashboards, everything.
It’s not local (Nest cameras phone home to Google), but it’s seamless to set up. No extra software, no configuration files. Just add the integration, authenticate once, and the cameras appear.
Pi-hole for DNS-Level Ad Blocking
Pi-hole sits between your home network and the internet as the DNS server. Every device on the network that uses it gets network-wide ad blocking, tracker blocking, and the ability to see exactly what domains every device is trying to reach. It’s the kind of thing Abode never did but should be standard on every home network.
Offline Wikipedia and Maps
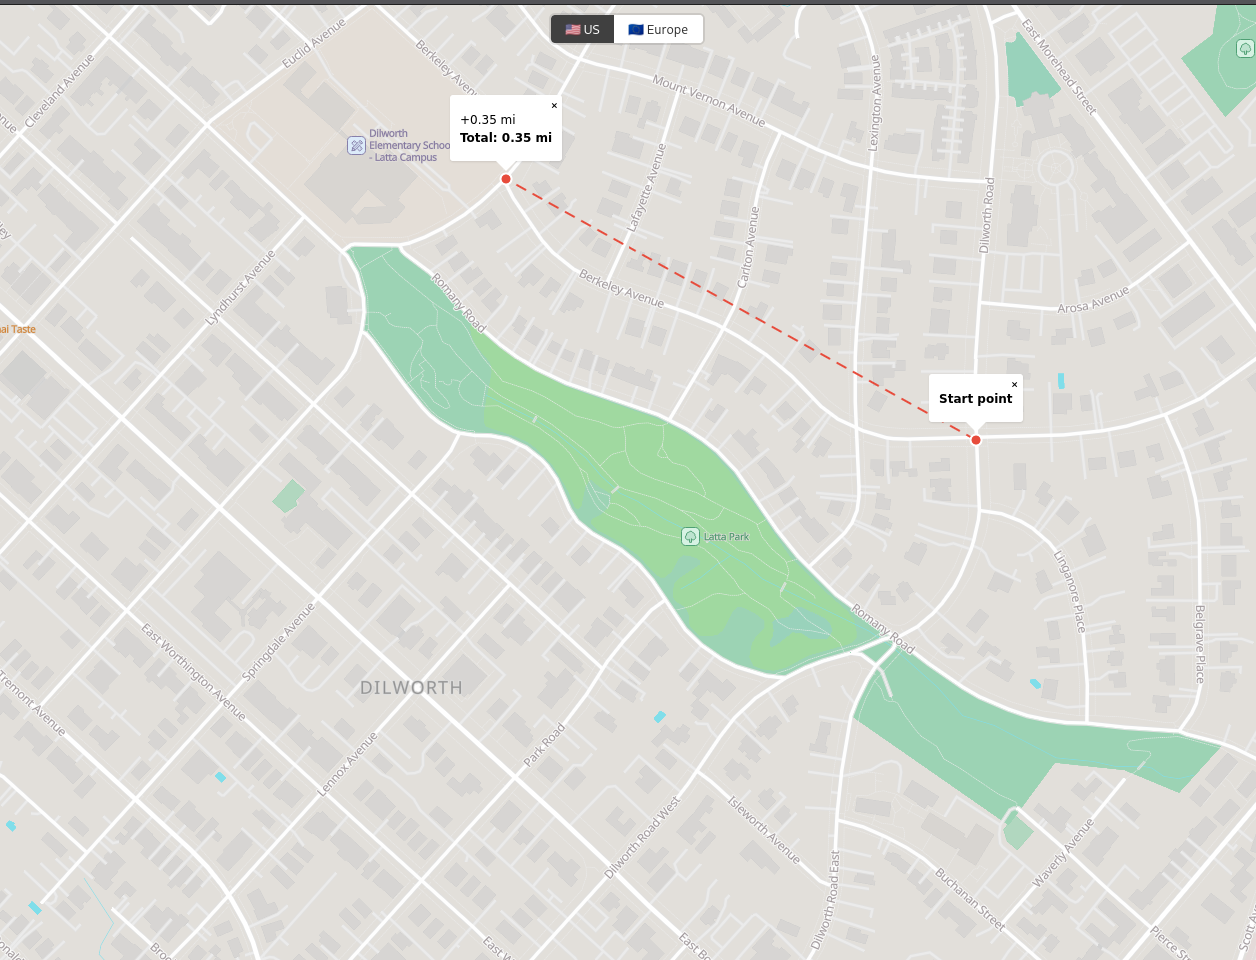
The same server runs Kiwix (offline Wikipedia archives) and a custom offline map viewer with US and Europe tiles. It’s admittedly paranoid, but when the zombie apocalypse hits and you need to find the closest warehouse with supplies, Google Maps might not be available. So you’ve got OSM tiles cached locally plus a web UI I wrote that lets you search, view, and measure distances on the map. All running offline. Free to add, so why not.
Plex for Media
If you have an external SSD with movies and shows, Plex turns it into a media server. Streams locally on the home network, or securely to other devices. The Pi 5 handles transcoding without sweating, though realistically you’re limited to a device or two transcoding at the same time.
The Geiger Counter (Because Why Not)
The same Pi also runs the GMC-320 integration. Every 60 seconds it reads radiation levels from a USB Geiger counter and pushes the values into HA via REST. Not strictly a security feature, but it lives in the same Docker Compose stack for free once the server is running. Why not have one more data point about the environment?
Power Backup: The UPS
The Amazon Basics 600VA UPS sits under my home router and the Pi box. If the power goes out, both devices stay online for a few minutes. Ideally long enough for me to know something’s wrong and take action.
Here’s the honest part: it gives enough runtime to keep things online for a while. Not hours, but enough to catch alerts and know something happened. In an industrial setting this would be laughable, but for home backup it’s fine for now. It’s on my upgrade list when I want to stretch that window longer.
What I Don’t Have Yet
Two things Abode had that I’m still chasing.
Longer UPS runtime. The 600VA buys minutes. A real 1-2 hour backup would take an APC or CyberPower unit that costs several hundred dollars. I’ll get there, but it wasn’t critical for the first cut.
Cellular backup. Abode had LTE fallback. If your router went down or someone cut the cable line, the hub stayed connected over LTE and you still got alerts. That’s the one feature I haven’t replicated yet. Adding a cellular data modem as a second WAN interface would close that gap completely. I’m still researching the options.
What’s Next
First upgrade: a beefier UPS. Probably APC, probably the kind with 1-2 hours of runtime.
Second: cellular backup. Looking at adding a simple LTE dongle with failover so the hub stays connected even if my home internet dies.
Third: find a replacement for the Google Nest cameras. They work great with HA, but they phone home to Google. There are local alternatives (Frigate with RTSP cameras, local ONVIF devices) but they don’t integrate as smoothly. The gap is worth closing.
Beyond that, a local voice assistant running on the same Pi would be nice. Alexa integration exists, but a voice assistant that runs entirely local and answers to your home, not Amazon’s data center, is worth building.
Source: github.com/arudyk/argon
raspberry-pi home-assistant home-security z-wave hardware
1992 Words
2026-06-21 20:00 -0400 (Last updated: 2026-06-21 20:00 -0400)