Building Sentinel a Charging Dock: Pogo Pins, Copper Plates, and a Robot That Bounces Off
At the end of my last post on Sentinel I left myself a homework assignment. The robot is useful precisely when I’m not home, so having to manually plug in the USB-C cable to charge it kind of defeats the whole point. If the battery dies while I’m away, there’s nothing I can do about it. I said I wanted to build a charging dock so Sentinel could top itself up without me touching a cable.
This is the post where I actually do that. It “kinda” works - which is to say it charges, but not as reliably as I’d hoped. Here’s how I built it, what I got wrong, and where I’m taking it next.
The full source is still on GitHub: github.com/arudyk/sentinel
The Idea
The constraint that shapes everything here: the Pi Zero 2 W charges over a USB-C port (through the PiSugar 3), and I didn’t want to modify the Pi or the battery HAT at all. Whatever I built had to deliver 5V into that existing USB-C port without me re-soldering anything on the robot itself.
So the plan came together as two halves:
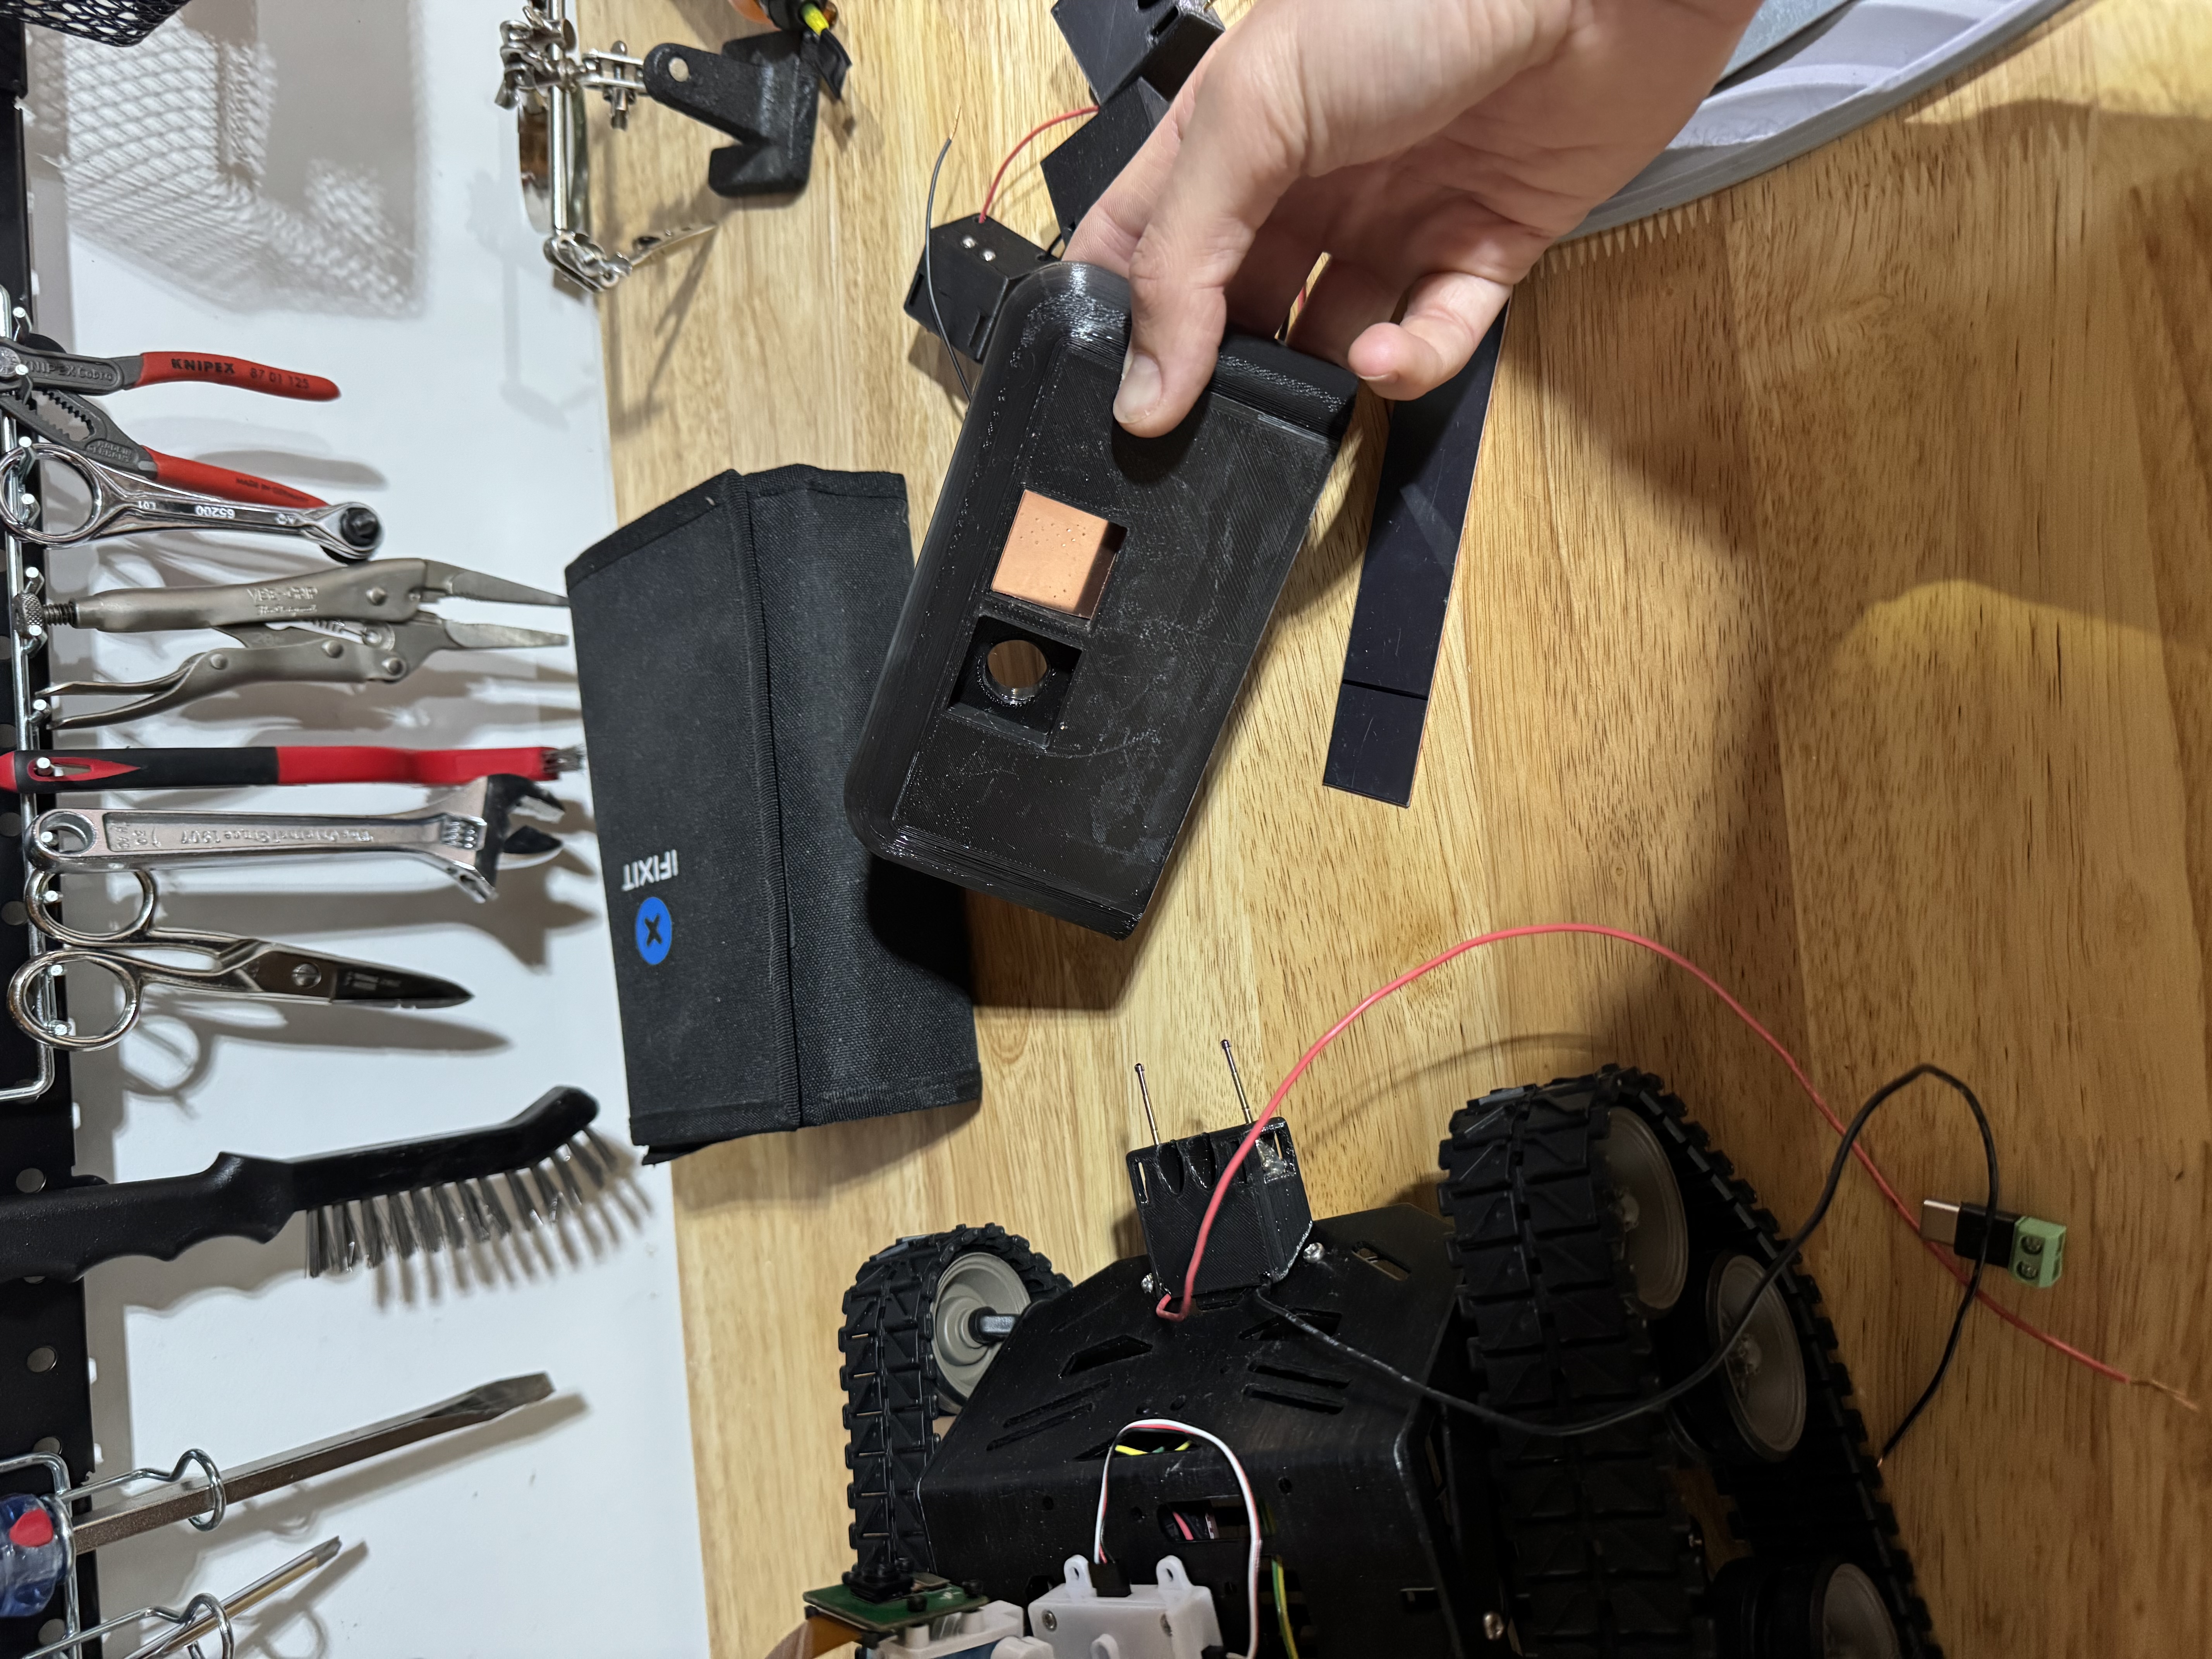
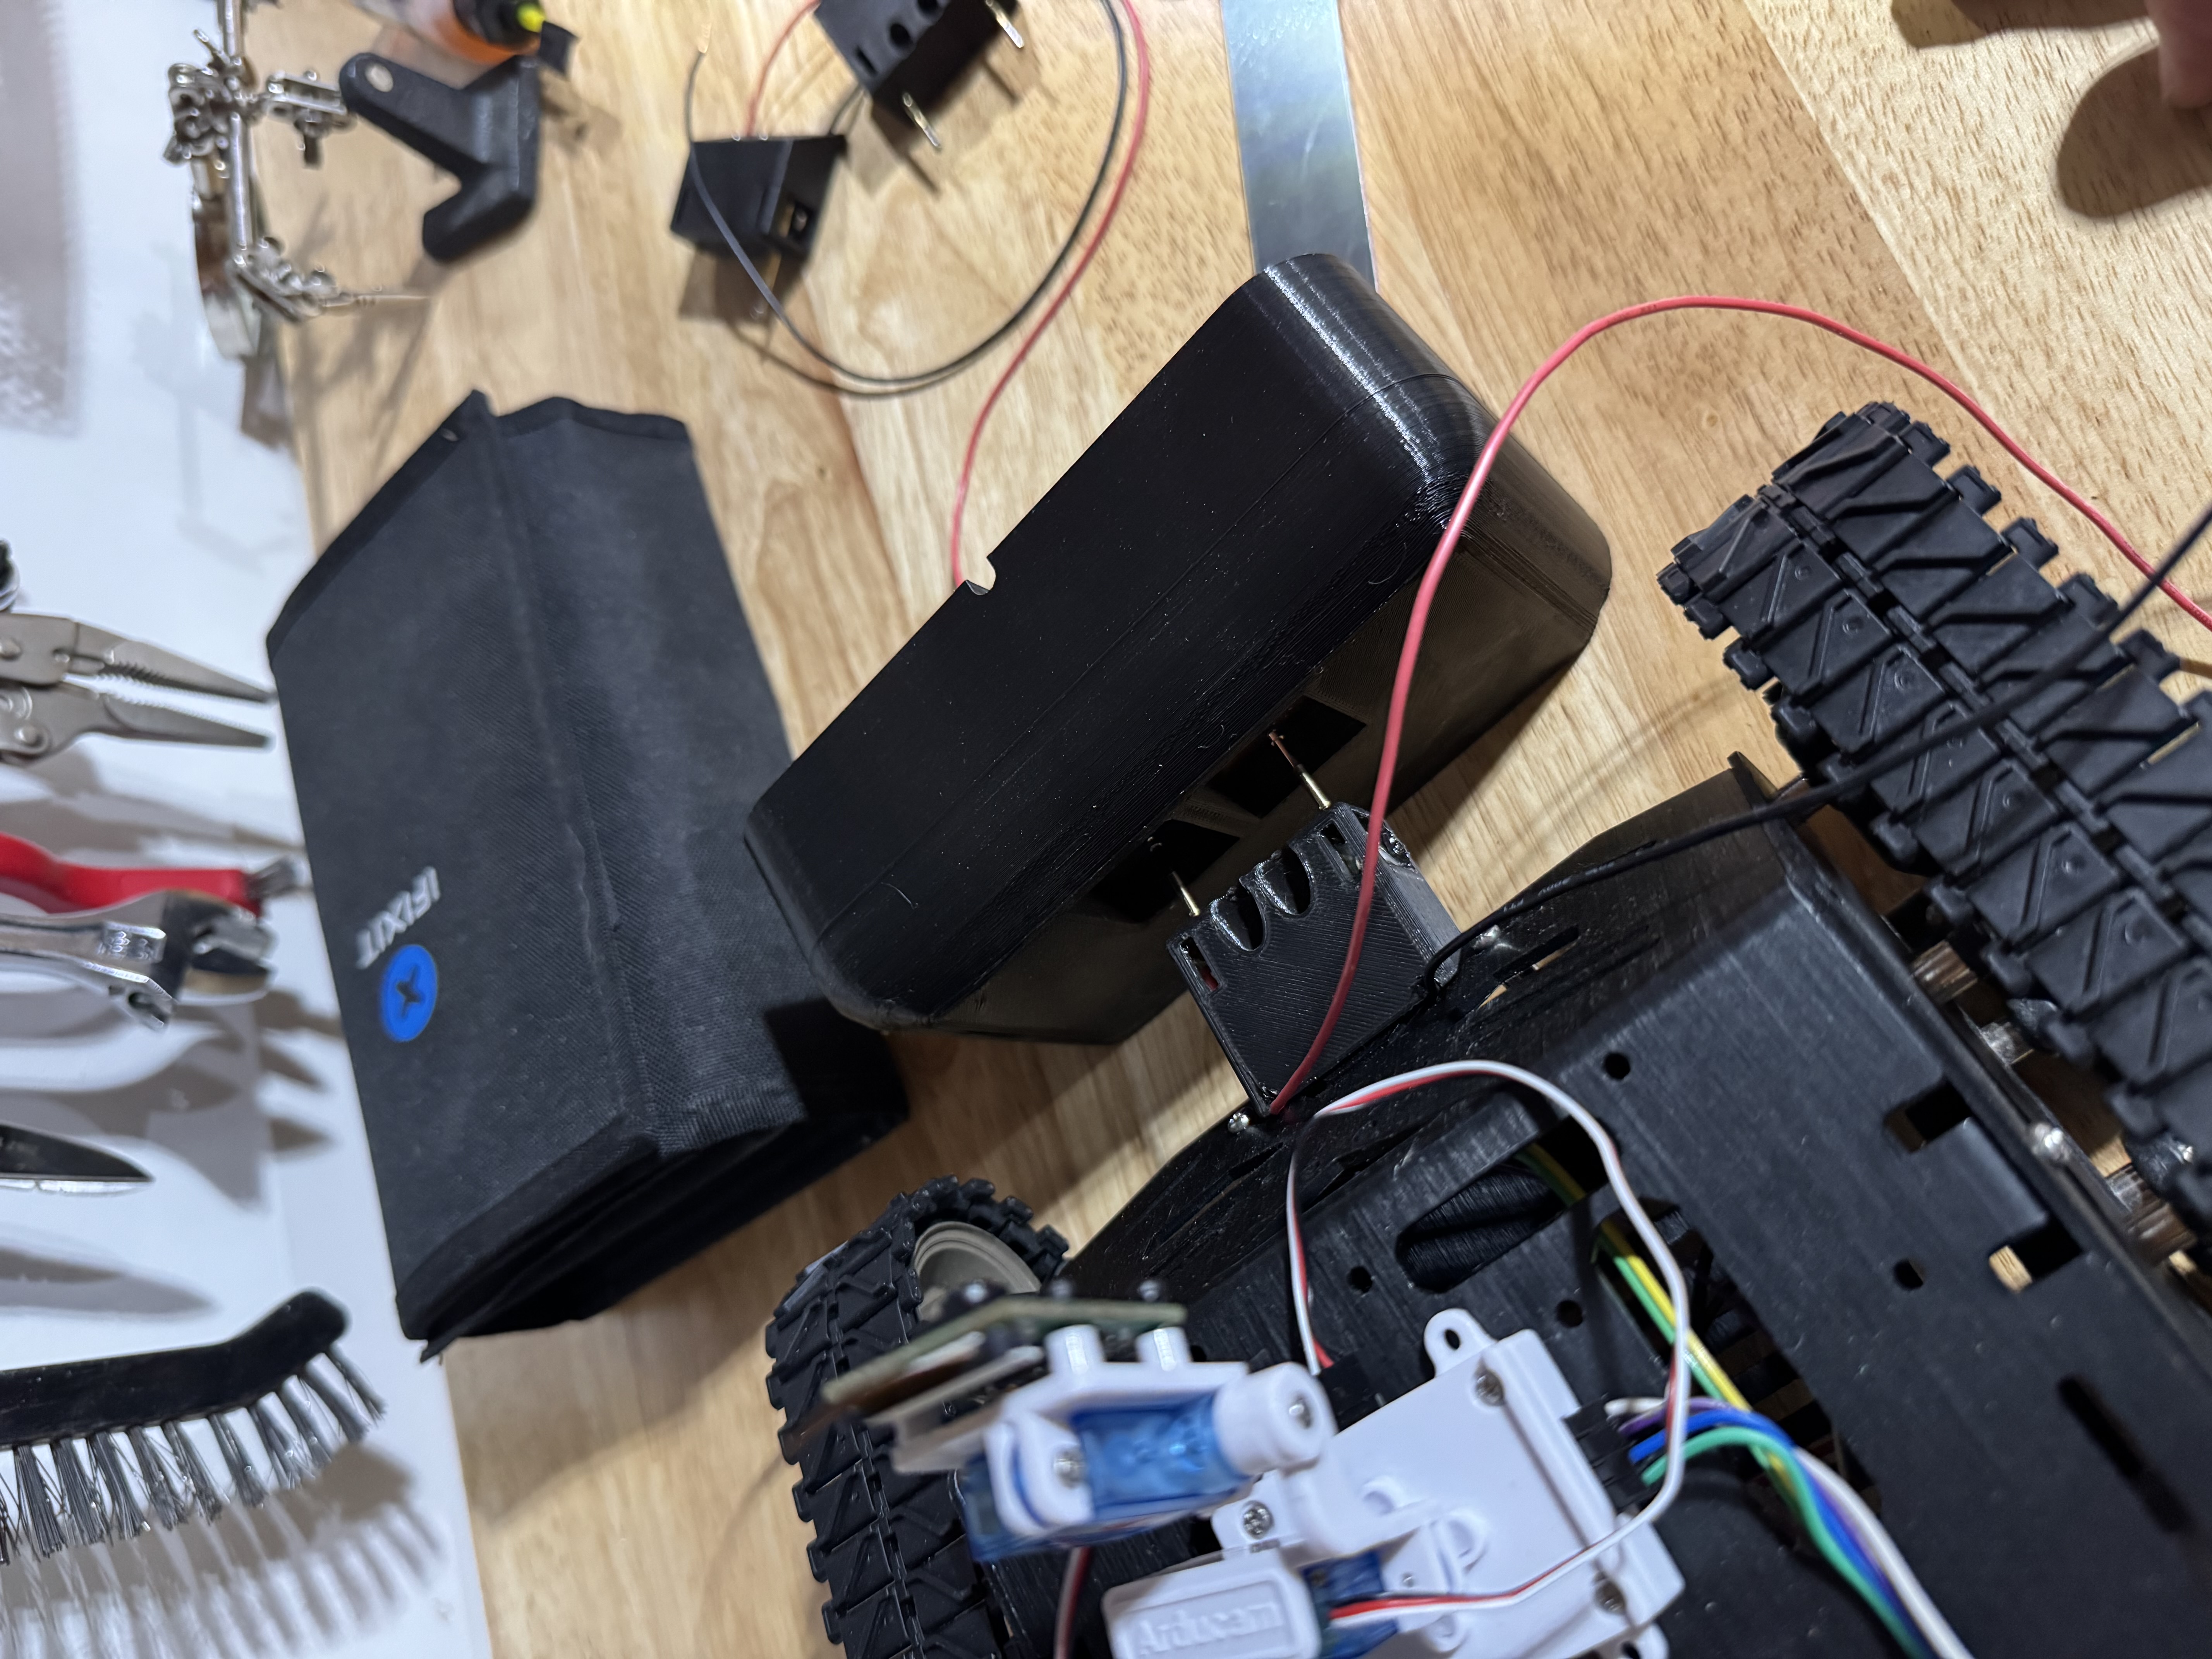
- On the robot: a 3D-printed adapter that plugs into the Pi’s USB-C port and carries spring-loaded pogo pins sticking out the front.
- On the dock: a 3D-printed base with two copper contact plates, wired to a 5V supply, positioned so that when the robot drives into the dock, the pogo pins press against the copper.
Drive in, pins touch copper, charging starts. No plugging in, no alignment fussing. That was the theory, anyway.
The Parts
I tried to keep this cheap and use stuff I could get in a couple of days:
| Part | Link |
|---|---|
| Pogo pins (P125-D spring test probes, 2.0mm big round head) | Amazon |
| Pure copper anode sheet (99.995%, 1mm x 25mm x 150mm) | Amazon |
| Solderless USB-C screw-terminal breakout | Amazon |
| An old USB charger I was willing to sacrifice | (from the junk drawer) |
The pogo pins are the heart of this. They’re spring-loaded test probes normally used for bed-of-nails PCB testing - a sprung plunger with a rounded head that maintains contact pressure even if the alignment isn’t perfect. That self-correcting contact pressure is exactly what I wanted for a dock, where the robot is never going to stop in precisely the same spot twice.
The Robot-Side Adapter
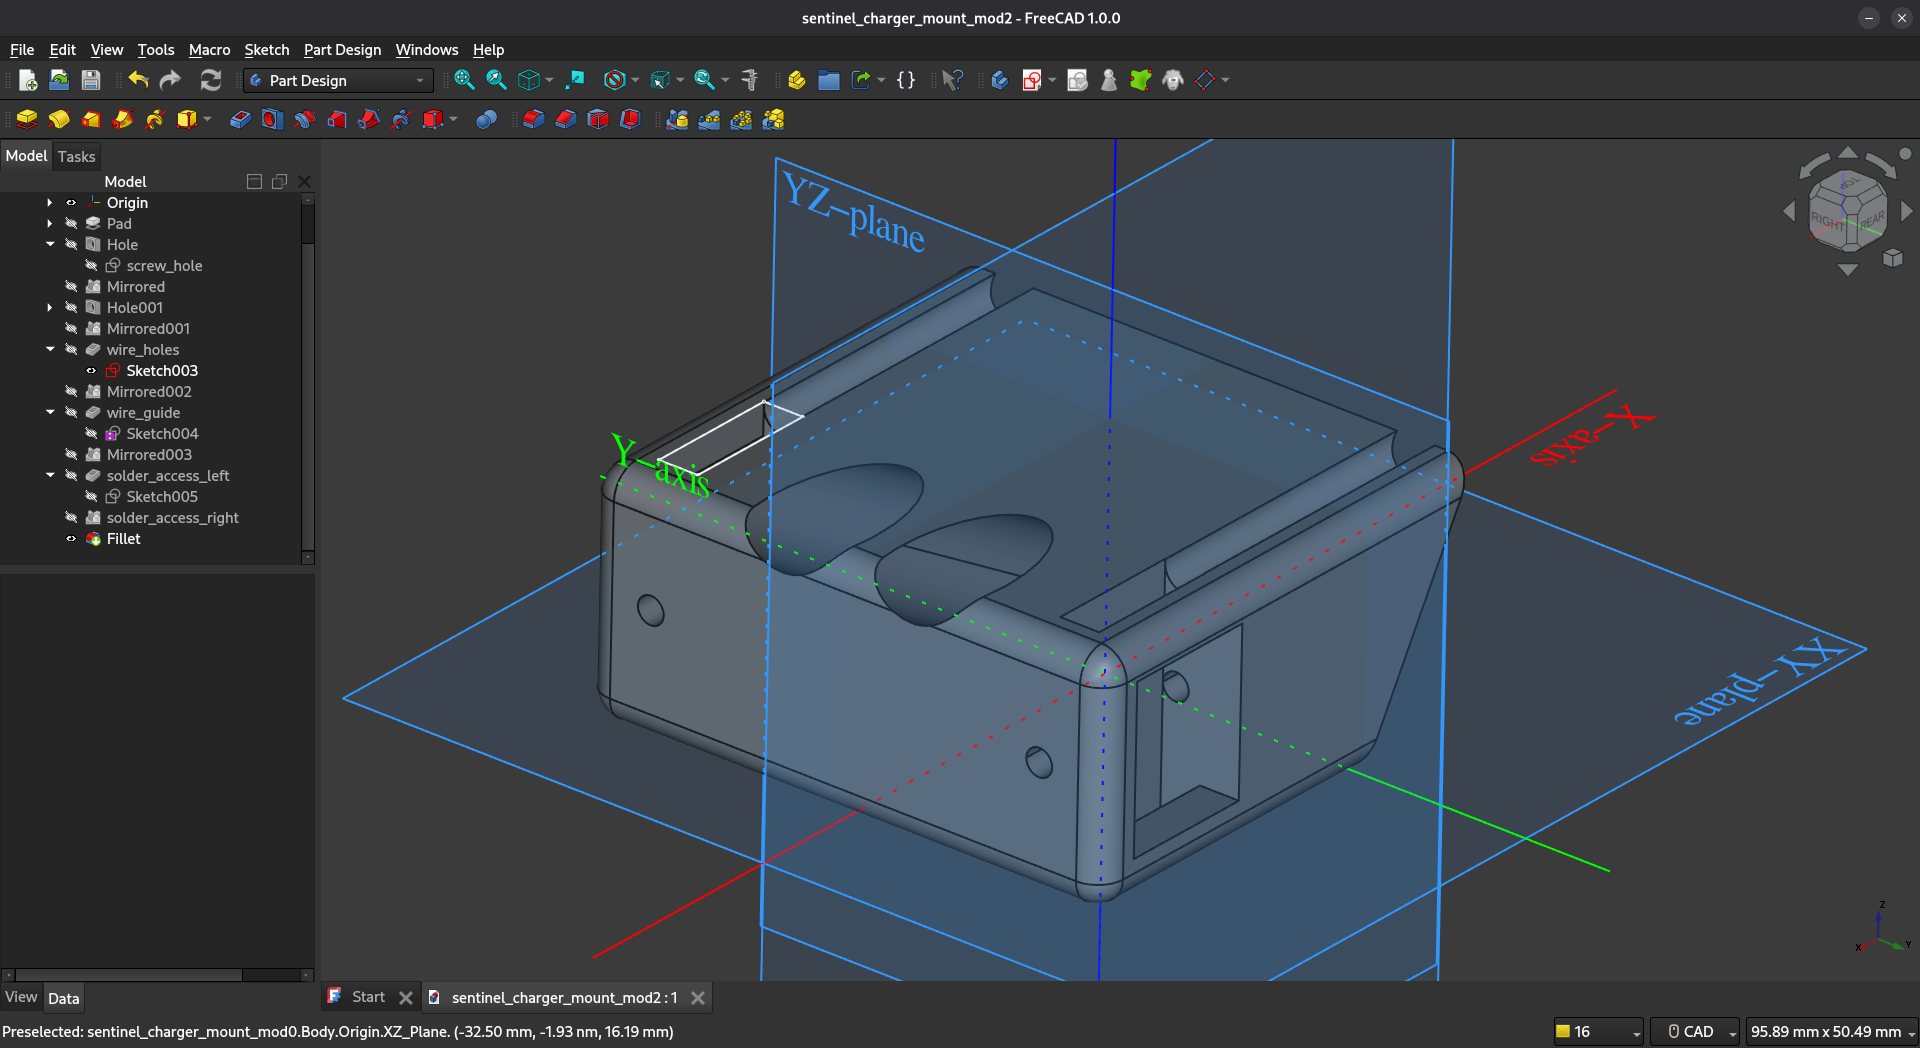
The robot side needed an adapter that presents two pogo pins out the front of the robot at a known, fixed position - so I can just drive forward, looking ahead, straight into the dock. I modeled the housing in FreeCAD, with channels to seat and hold the pogo pins. The adapter itself doesn’t house any of the USB electronics; it just locates the pins, and wires run back from them to the Pi Zero’s USB-C port at the rear of the robot.
For the actual USB-C connection I used a solderless Type-C screw-terminal breakout. This was a nice find - it’s a little PCB with a USB-C male plug on one end and screw terminals on the other, so I could wire the pogo pins straight to the 5V and GND terminals without trying to solder onto the impossibly tiny pads of a bare USB-C connector. The breakout plugs into the Pi’s port at the rear, the wires from the front pogo pins screw into its terminals, and that’s the whole robot side.
The Dock Side
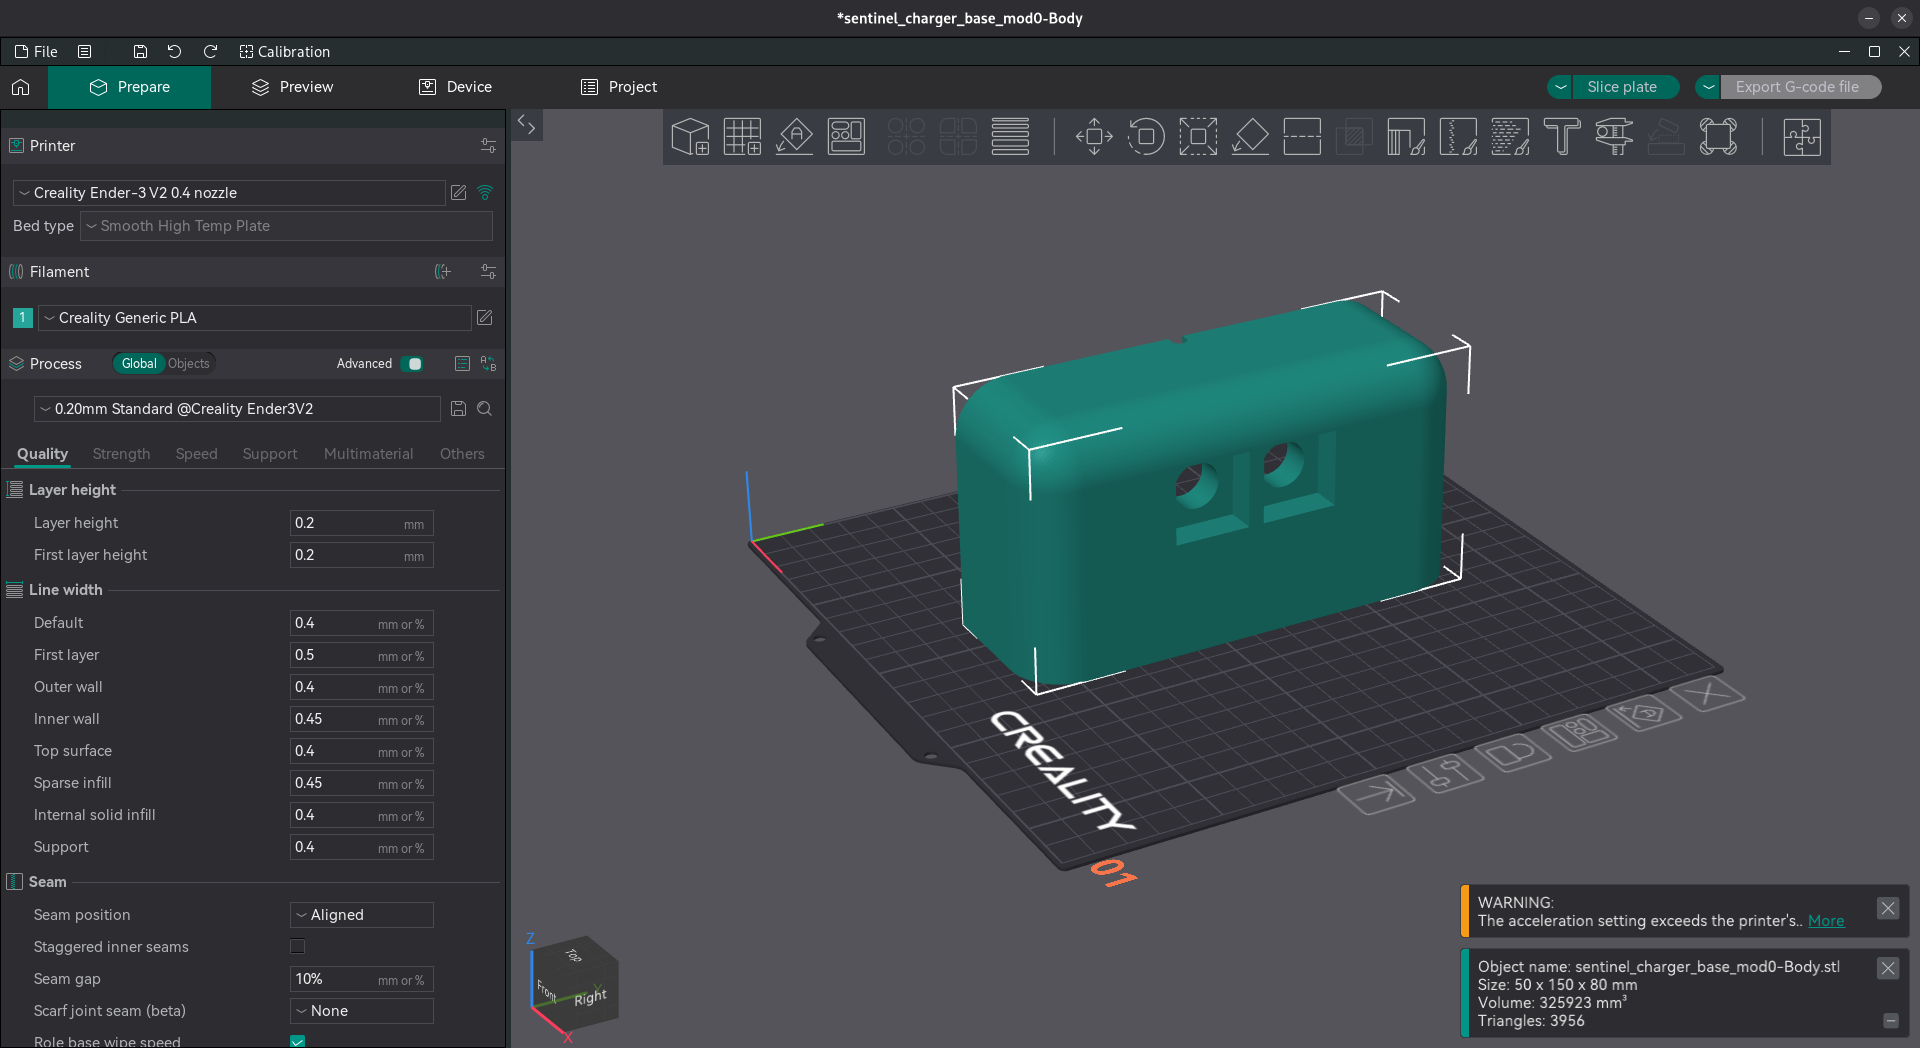
The dock is a printed base with an angled front face that the robot drives into. I sliced it in Orca Slicer - it’s a chunky single piece with two pockets in the front for the copper contacts.
For the contacts I took the pure copper anode sheet (it ships as long 25mm x 150mm strips) and cut it down into two small squares. Copper because it’s a great conductor, takes solder easily, and doesn’t oxidize as aggressively as some cheaper plated contacts would.
For the power, I did the time-honored hardware-hacker thing and dissected an old USB charger. I cracked it open, found the 5V and ground on the output side, and soldered those leads directly to the two copper plates. So the dock is, electrically, just a wall charger with its USB port replaced by two copper squares.
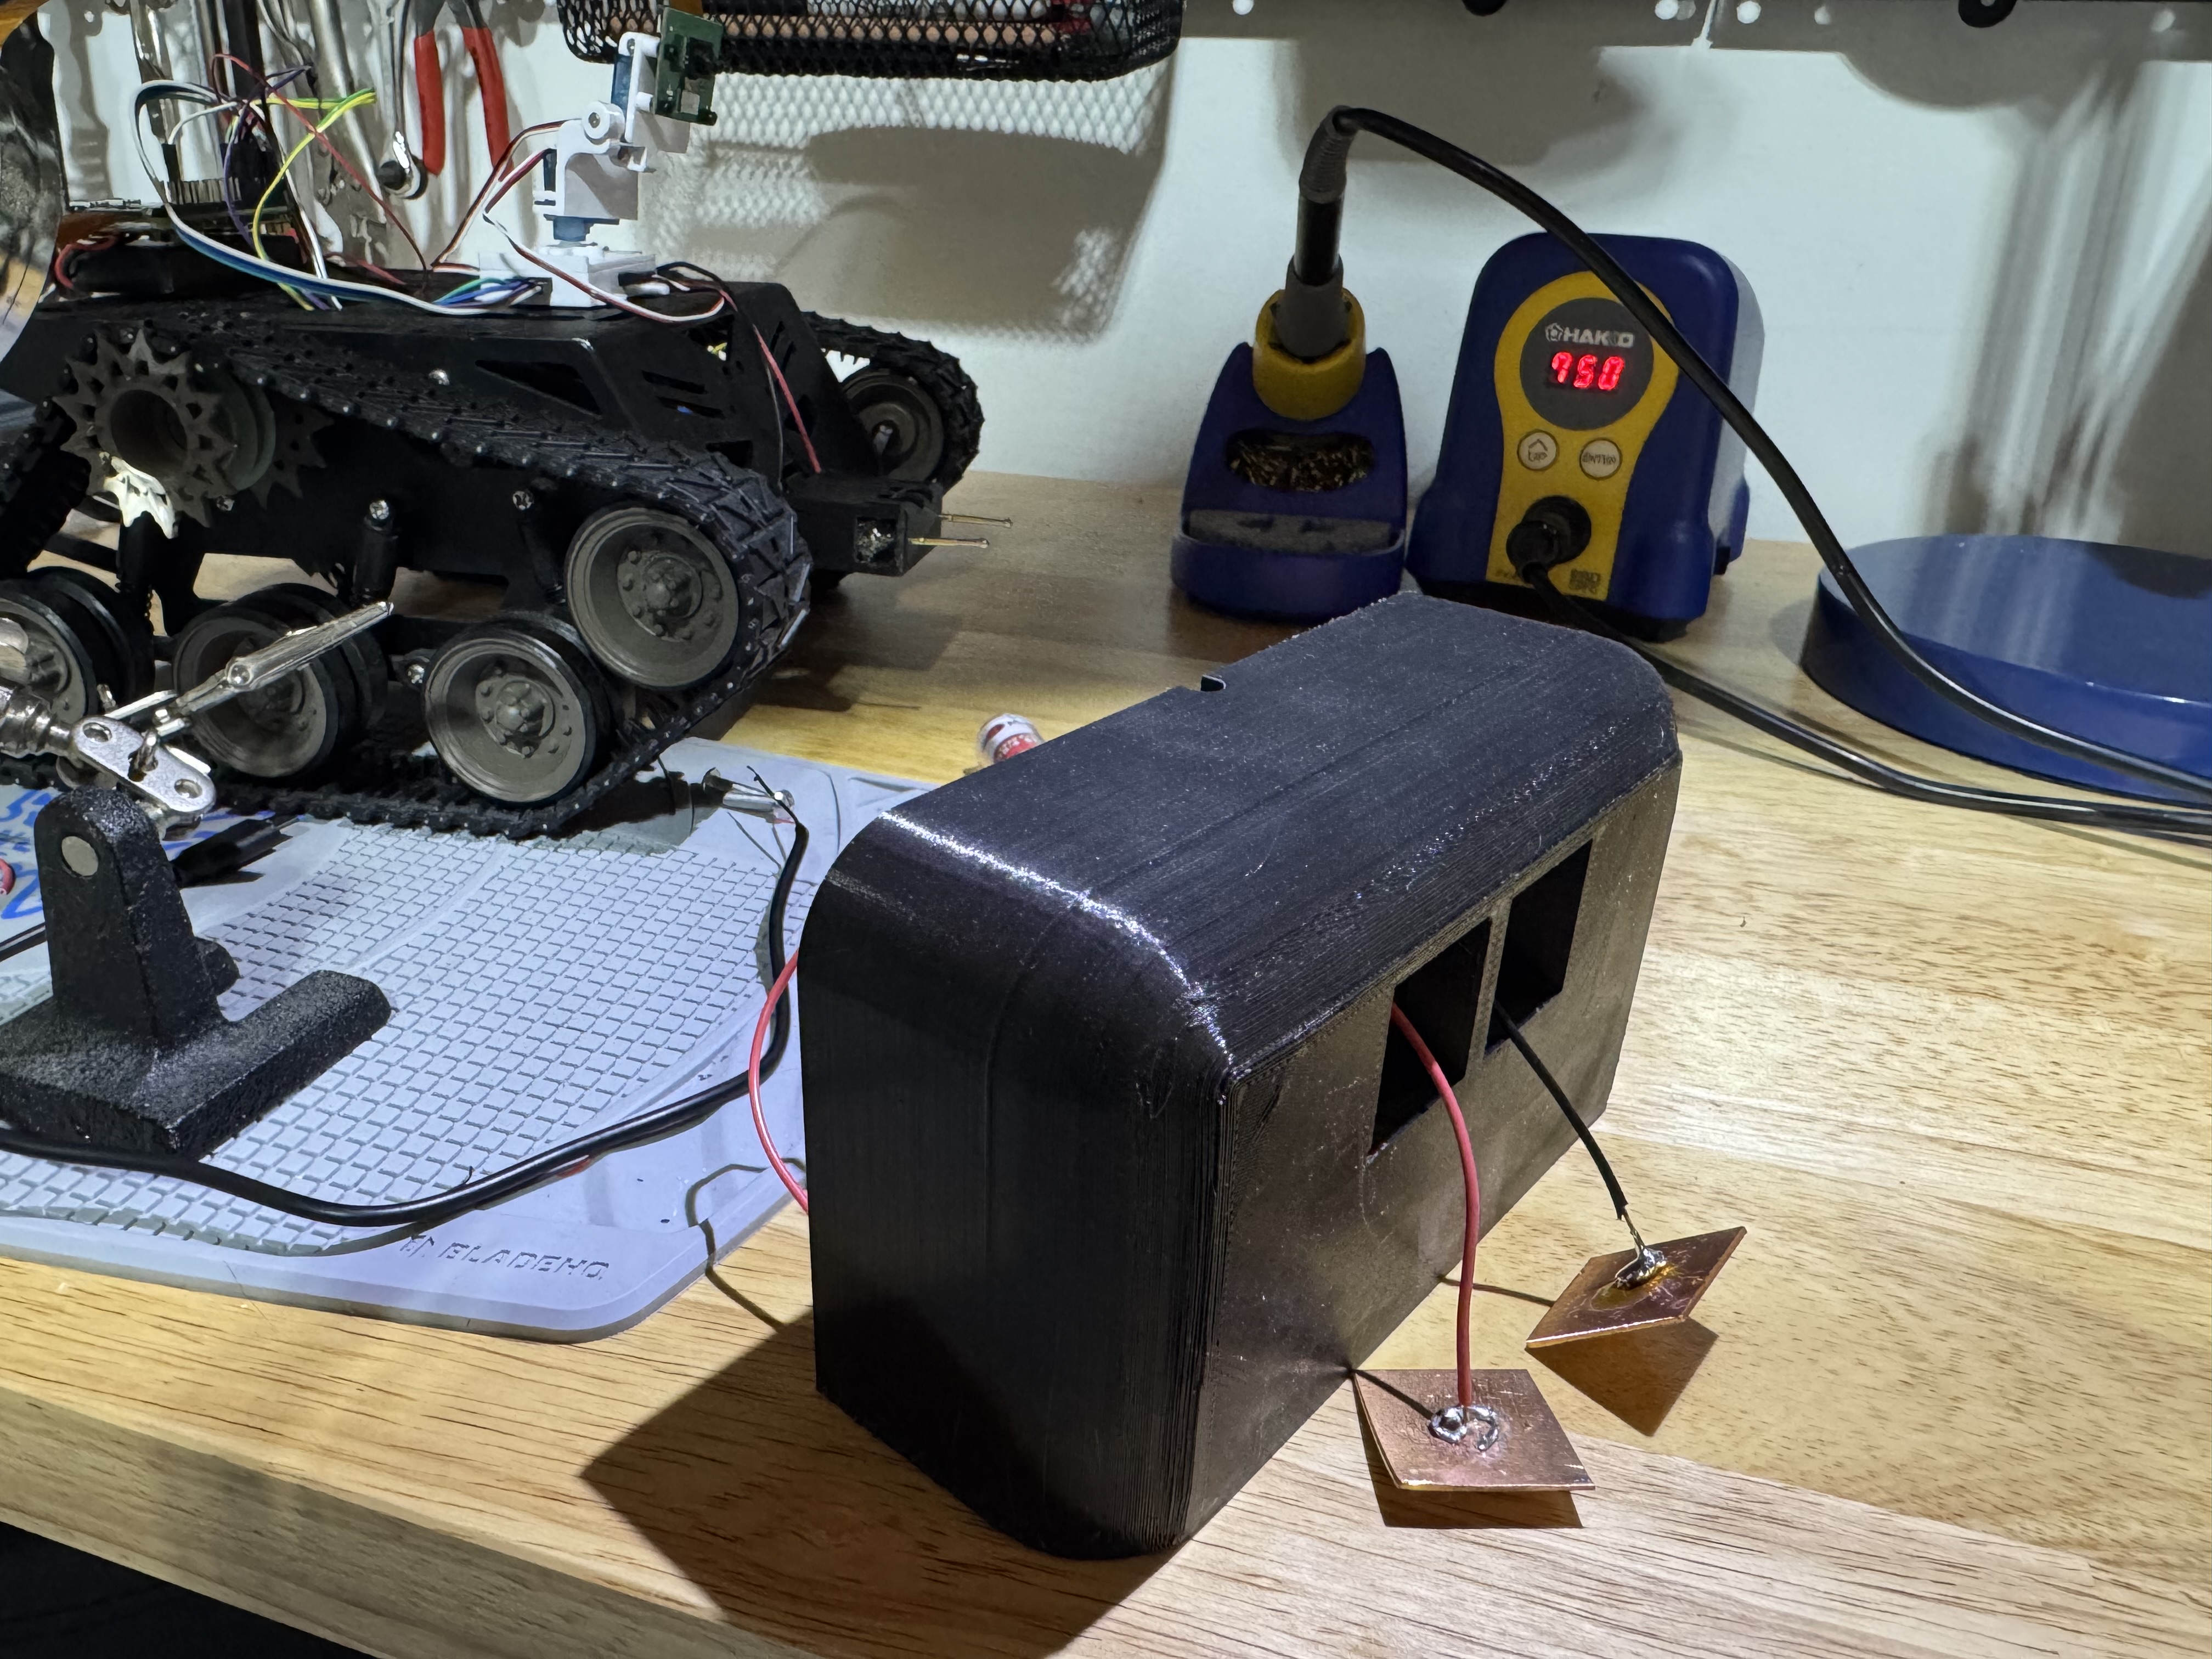
When the robot drives in, the two pogo pins on the adapter line up with the two copper plates on the dock. Pin one carries 5V, pin two is ground, and the PiSugar 3 takes it from there.
What Went Wrong
Here’s the honest part: it charges, but it isn’t reliable.
The problem is the pogo pins themselves - specifically, there’s too much spring resistance. These are stiff little springs, and there are two of them. When the robot drives into the dock, instead of the pins compressing smoothly and holding contact, the combined spring force pushes back hard enough that the robot bounces off the dock. The tracks don’t have enough grip and weight to hold Sentinel pressed against that much spring tension, so it creeps backward, the pins lose contact, and charging cuts out.
So I’m in this annoying spot where if I nudge the robot in by hand and hold it, it charges perfectly - the electrical path is fine. But left to dock itself, the very springs that were supposed to guarantee good contact are what break it. The thing that was meant to be the clever part of the design is the part that doesn’t work.
A few things I think are going on:
- Two stiff pins is too much force. The spring rate on these P125-D probes is fine for one pin holding a PCB down, but doubled up and fighting a lightweight tracked robot, it’s enough to win.
- The tracks don’t anchor. Sentinel is light and the tracks slip on a hard floor, so it can’t hold itself against the spring load. A heavier robot, or a dock that physically captures the robot, would mask the problem - but that’s papering over the real issue.
- No latch. There’s nothing holding the robot into the dock. The only thing fighting the spring is the motors stalled forward, which isn’t a great long-term plan.
What’s Next
I’m not going to pretend this one landed. It’s a working proof that the contact scheme is sound - 5V gets where it needs to go - but “drive in and hope it doesn’t bounce” isn’t the seamless self-docking I was after.
The good news is the fix has been staring at me the whole time. The reason the robot bounces off is that nothing holds it into the dock against the spring. So the next version is going to add something that pulls the robot in and keeps it there, quietly canceling out the pogo pins’ push - and I think a couple of well-placed magnets are about to make this whole bouncing problem disappear.
More on that in the next post.
Source: github.com/arudyk/sentinel
raspberry-pi robotics hardware 3d-printing
1151 Words
2026-06-07 20:00 -0400 (Last updated: 2026-06-07 20:00 -0400)